Under the Hood of Your CompTIA A+: A Journey into Power Supply Installation and Replacement

Oi there, budding techies and future IT wizards! Time to roll up those sleeves, we're about to venture into the nitty-gritty of one of the most vital, yet often overlooked aspects of the CompTIA A+ Core 1 (220-1101) exam, the installation or replacement of a power supply. Let's burn some rubber, shall we?
Laying the Foundation: Unraveling the Power Supply Puzzle
First things first, you need to grasp the facts about power supplies. They ain't just magic boxes, you know! They're the heartbeat of your computer system, converting the alternating current (AC) from your outlets into low-voltage direct current (DC) that your devices can consume. They're like the unsung heroes, silently bearing the burden without a peep of fuss. When they fail, your whole system goes kaput, and believe me, that's as pleasant as a porcupine in a balloon shop!
The Anatomy of a Power Supply
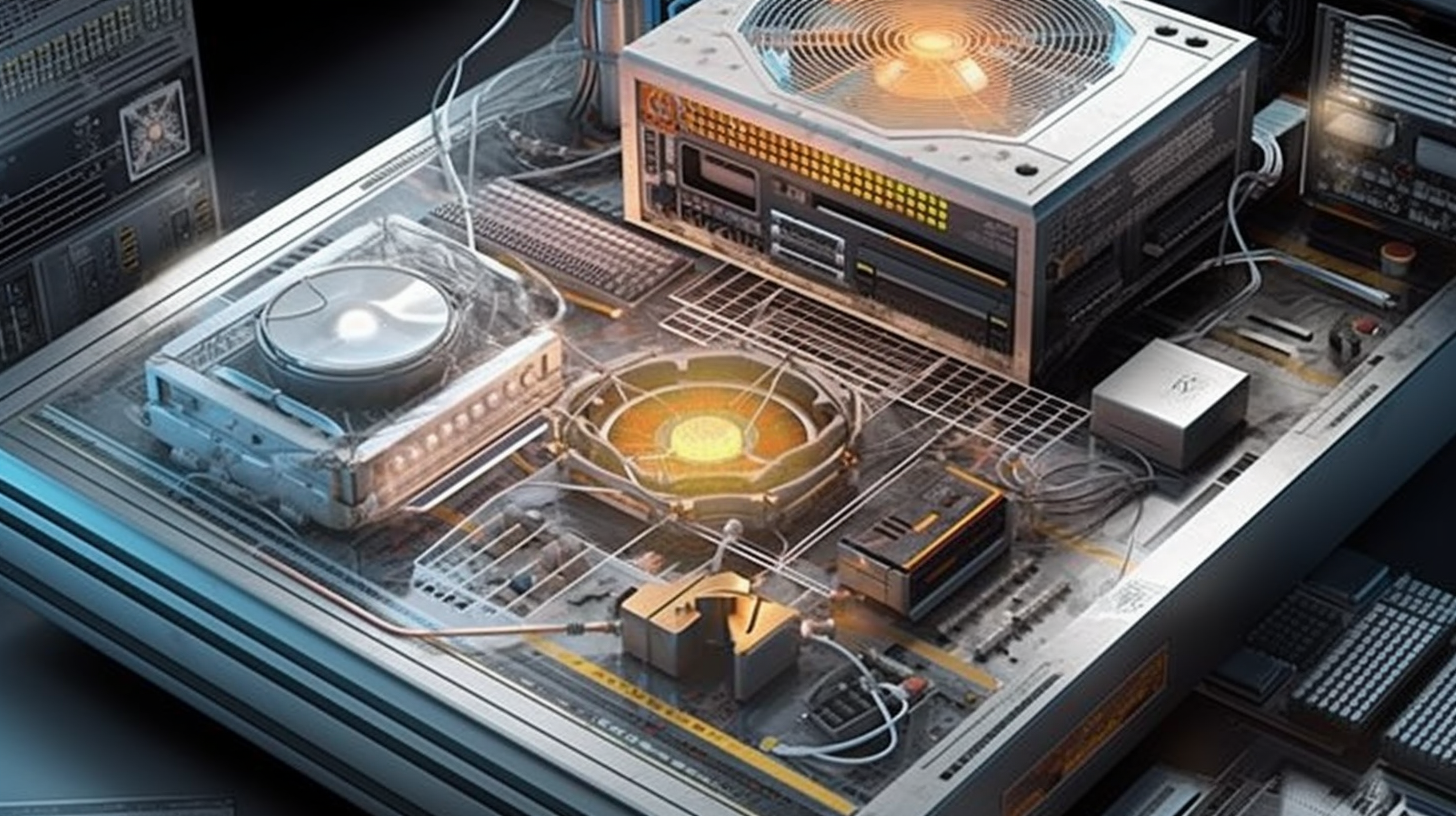
It's critical to understand what makes up a power supply before you dive headfirst into installing or replacing one. It's like trying to bake a sponge cake without knowing a whisk from a wooden spoon - not gonna end well, mate! So, here's the lowdown - your power supply comes with a fan, heat sinks, a transformer, and a slew of capacitors and other electronic componentry looking like something from a Star Trek episode. Keep those knickers untwisted, folks! We're about to break this jargon down into easily digestible bytes!
Choosing the Right Power Supply
As you gear up to install or replace a power supply, remember the old but gold rule - verify its compatibility with your system's motherboard. Accomplish this by examining the connectors. Our focus is on the 24-pin main power connector, the supplemental 4, 6, or 8-pin connector, and the 6 or 8-pin PCIe connector for graphics cards. It's like ensuring Cinderella's shoe fits; only then will your fairytale ending come true.
Putting It All Together: Installing or Replacing a Power Supply
Okay tech junkies, brace yourselves - you've selected the right power supply, and it's time to get down to the installation or replacement! You may feel like a first-time juggler with flaming torches, but keep your cool, folks. We're here together!
Begin by unplugging the old power supply and removing the four screws located on the back of the case. Slowly and carefully, slide it out. It's kinda like diffusing a bomb - cut the wrong wire, and BOOM - so take your sweet time.
Next up, align the new power supply with the holes in the case, push it in, and screw it on tight. No shaky hands now! Double-check the connections to the motherboard and any other peripherals. This step is as crucial to your computer as an espresso shot is to your Monday morning. After all, there's no use crying over spilled milk if you forget this step.
Once the power supply is snug and secure, it's time to power up and watch that baby roar to life! Test all your peripherals to ensure the power is distributed evenly. Remember, it's all about balance, like a perfect yoga pose. It ain't just about strength; it's also about grace.
Wrapping It Up
The clock ticks, and our journey today concludes but remember, practice makes perfect. If it feels a bit overwhelming initially, keep your cool, no need to get hot under the collar. Do you recall those first tentative moments when you began learning to ride a bike? It was all wobbles and grazed knees. But look at you now, pedaling like a champ!
Keep exploring, keep learning, and keep growing, folks! Till next time, this is your tech buddy signing off, and remember, in the world of technology, we do it with more than just a click of a button. We do it with heart, soul, and, of course, a sexy power supply!