Selecting and Installing Storage Devices: A Nitty-Gritty Guide for CompTIA A+ Core 1 Exam
Ah, storage devices! They're like the treasure chests of the computing world. Oh, we feel such joy when storage devices brim with goodies, and face frustration when they pack to the rafters and force us to choose what stays and goes. But, darling reader, have you ever paused to consider the intricate dance behind the scenes when you decide to install a new storage device? Well, buckle up! We're diving precisely into that today. We're hitting the open road with CompTIA A+ Core 1 (220-1101) as our trusty roadmap, and we're not stopping until we've guided you through the twists and turns of selecting and installing storage devices. So, are we ready to put the pedal to the metal?
Deciphering the Storage Device Dictionary
Before we embark on this journey, let's grasp the lingo. Folks, we're discussing storage devices here, not just any old gadget capable of holding data. Consider a storage device as your computer's Swiss Army Knife. Be it a Hard Disk Drive (HDD), Solid State Drive (SSD), or even a trusty old Flash drive, each one uniquely tackles storing and retrieving your data. Its complexity parallels a jigsaw puzzle. Each piece, on its own, might seem insignificant, however, collectively, they sketch a bigger picture.
Mapping Out Your Storage Device Journey
Alright, having the abc's down pat, how will you pinpoint the ideal storage device for yourself? Well, picking out the right storage isn't as simple as plucking apples from a barrel– but don't sweat it, I've got your back! Several factors need consideration– cost, speed, longevity, capacity, compatibility, and more. Even though saving a penny isn't the same as earning one when you buy a new storage device, thinking over how much you're willing to spend is a great starting point.
The Art of Installation
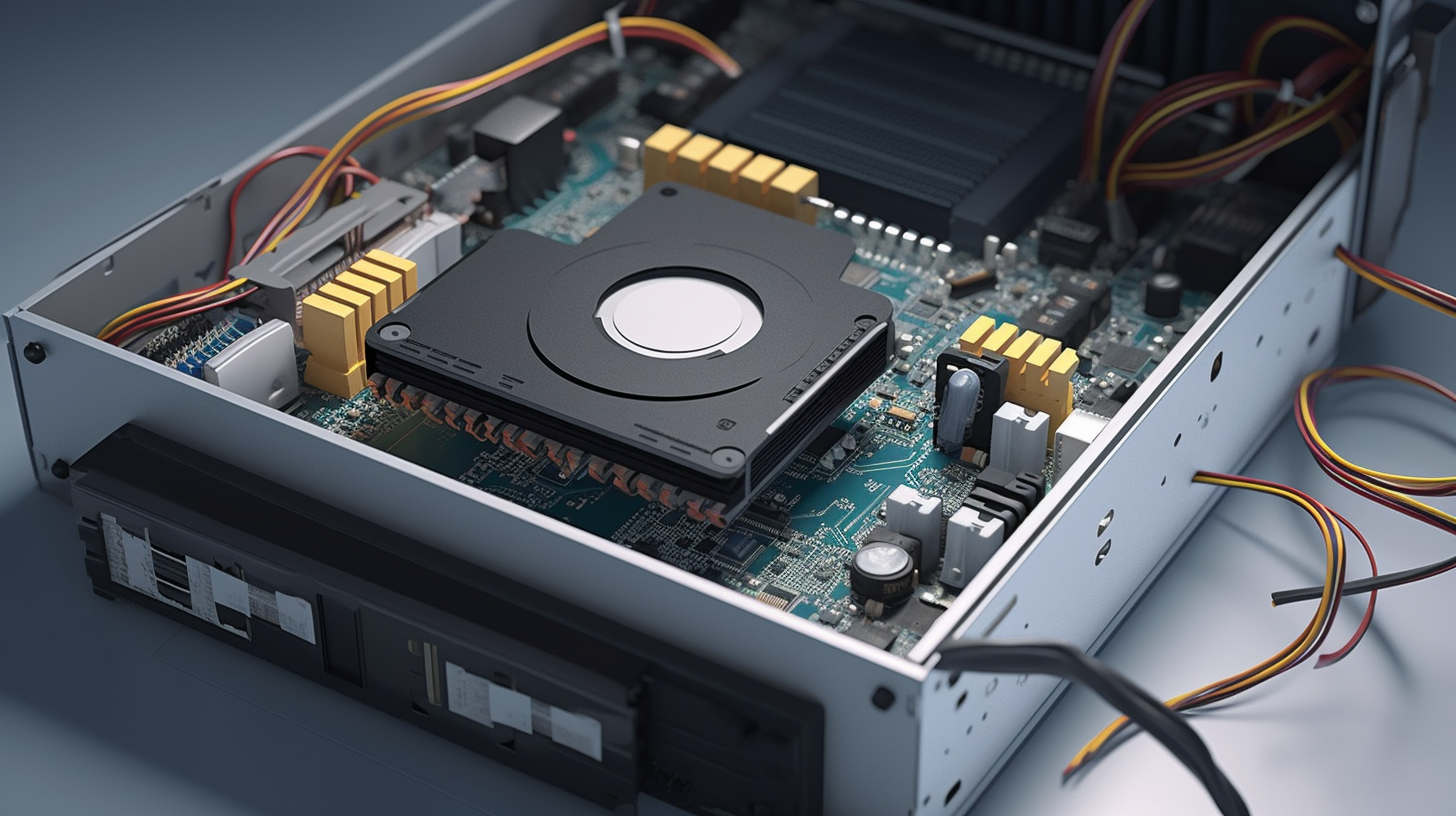
So, you've chosen your shiny new storage device and are primed for installation. But, wait a moment – this situation isn't a plug-and-play scenario. The process of installing a storage device resembles assembling a model airplane; you need the correct tools, meticulous adherence to instructions, and saint-like patience. Don't sweat it; our guidance will accompany you every step of the way.
We should start with the hardware. You'll obviously need your storage device, a Phillips-head screwdriver, and your computer's manual. Why the manual, you ask? Well, it's not a coaster for your coffee cup, let me tell you! Each computer is different, and knowing where everything goes can be the difference between a successful installation and a frustrating headache. So crack open that manual and let's get started.
Step-by-Step Installation Magic
Okay, with everything in place, we start diving into the installation of your storage device. This is a step-by-step operation– a minor step for you, but a significant leap for your computer's storage capacity. Firstly, let's power down your computer. And by that, I mean a complete shutdown, not just putting it to sleep. Having done that, we proceed with opening your computer case. Check your manual if you're uncertain about any of the steps. It should ideally be straightforward, but remember, we're taking it slow.
Once your computer's open, find the storage bay. In most cases, a rectangular slot that's ready to house your new storage device awaits you. You'll want to securely fasten the drive into the bay. Now, we get to the fun part. To connect your storage device to your computer, establish connections using specific cables. Depending on your storage device type, the cable requirements might vary. However, typically you will need a SATA cable for data transfer and a power cable for power supply.
After connecting everything, make sure to verify all your connections. This isn't the time to pull on cables or forcibly fit things into place. Remember, going slow and steady wins the race. Assured that all connections are proper, you can close your computer, switch it on, and admire your handiwork. Before you pat yourself on the back, let's ensure the computer recognizes your new storage device. If it does, congratulations! If it doesn't, don't panic. You might have to do a bit of troubleshooting or quickly peek at your computer manual.
Wrapping Up
Well folks, we've reached the end of our journey! You navigated the twists and turns of selecting and installing a storage device like a pro! Remember, perfection comes with practice, and patience truly is a virtue. With these guiding principles, you'll conquer the CompTIA A+ Core 1 Exam with flying colors.