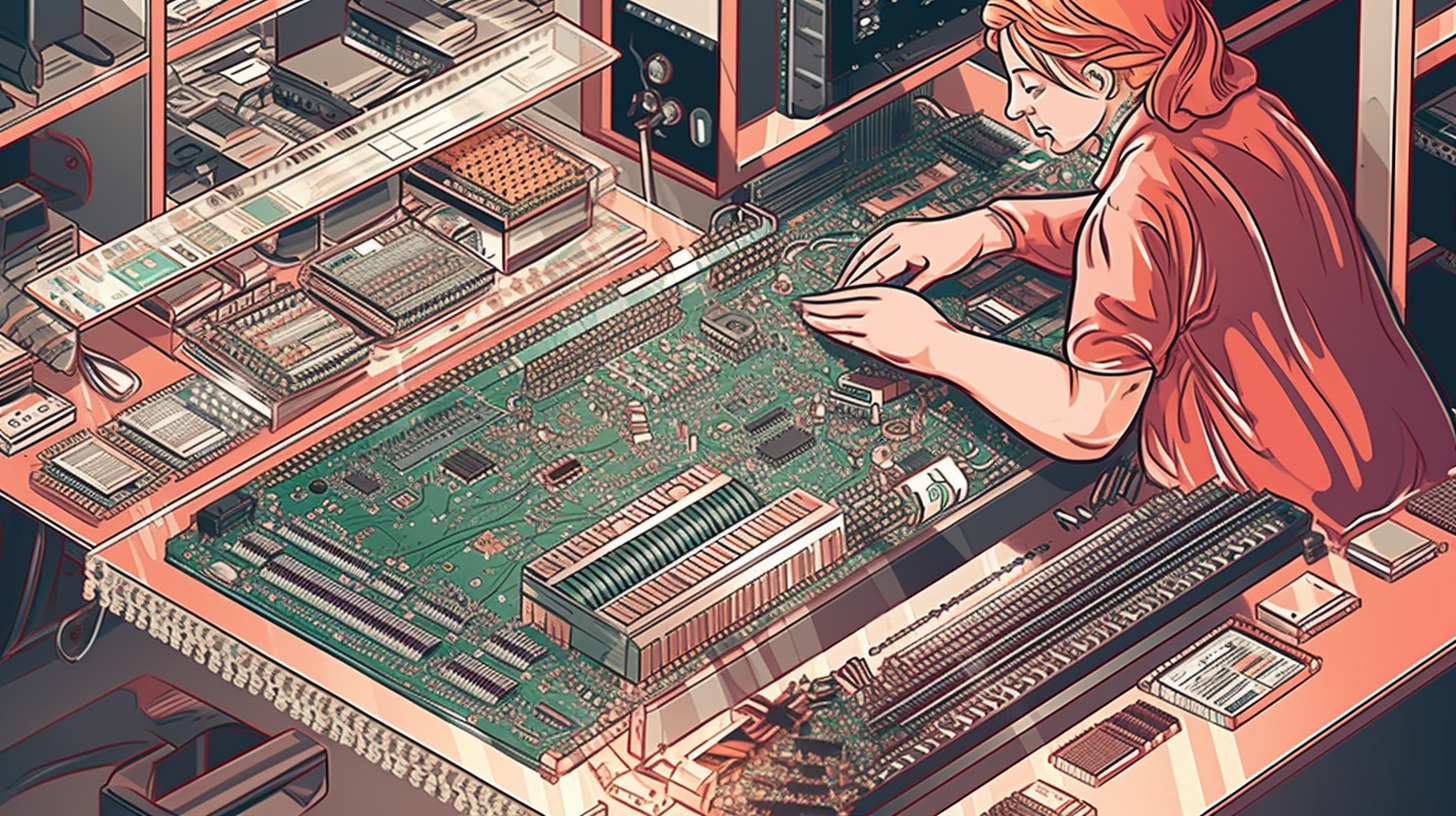
RAM Rumble: A Wittily Comprehensive Guide to Installing RAM Correctly

Folks, grab your hats, we're plunging into the exhilarating universe of Random Access Memory, or RAM as the savvy prefer to call it. Despite its sci-fi gizmo-like complexity, I assure you, it's not as complicated as it appears.
The real magic of RAM lies in its ability to let your computer juggle several tasks simultaneously. It's kinda like your morning shot of espresso - without it, your computer would be sluggish and nobody wants that. Life's too short to watch the spinning rainbow wheel of death on your screen, amiright?
Choosing the Right RAM
Before we take the plunge into the intricate process of installing RAM, we need to make sure we have the appropriate RAM for our system. Did I hear you correctly? Did you say there are multiple types of RAM? Oh my sweet summer child, if only it were that simple!
When choosing RAM, we need to ponder on the profound mysteries of life, like, what type of motherboard has my computer been blessed with? What's its maximum capacity? And well, quite honestly, how much dough are we willing to shell out? Because let's face it - RAM ain't no dime a dozen.
The Installation Process
Envision this, if you will. You've chosen your RAM. The mood has been set. You could cut the anticipation with a knife. It's time to install your shiny new RAM. But how do we kick things off?
First off, we need to power down our computer. It may appear obvious, yet it can still catch you by surprise. You don't want any stray electrical currents playing spoiler to your installation party.
Once your system is safely powered down, remove the system unit cover. I'm sure you're thinking- uh, where's that? It's the big, usually rectangular, home of your PC's hardware. Some may call it a castle for computer components, but I digress. Always refer to your manufacturer's instructions for the specifics. When dealing with tech, the guessing game is not our thing!
The Comedy of Complication
Get ready folks, the true fun begins here. If you assume installing RAM is as simple as sliding a piece of bread into a toaster, brace yourself for a surprise.
First and foremost, handle it gently, not like a bull running through a china shop. RAM isn't just a piece of toast you can just stuff into any slot in the toaster- I mean, motherboard. Be gentle with the poor thing!
Next, make sure the notches of your RAM align with the ones on the slot. Think of putting on corrective lenses - if it's reversed, boy, you sure won't be seeing clearer!
Last, remember that you're cramming that stick into a slot, not trying for a touchdown. You'll need to apply a bit of pressure- not too little, not too much. I mean, you should hear a click, not a crunch. If it doesn't fit, don't use force! A little finesse might just do the trick.
The Final Stretch
Once your RAM is snugly nestled in its new home, it’s time to replace the cover of your system unit. Pat yourself on the back - you’ve successfully installed RAM! Or... have you? Now it’s time to boot up your system and see whether your computer starts humming happily, or throws a temper tantrum. Because if it's the latter, pal, we're starting from scratch again.
Putting all jests aside, the installation of RAM is crucial; it can significantly influence your computer's performance. Follow these steps, and you pave the way for an enhanced, speedy, and robust computing experience. Best of luck on your RAM installation journey! Remember, you wield the power!
That sums it up! A simple, yet hopefully entertaining and enlightening guide to installing the appropriate RAM for any given scenario. Now, go out there, and may you never experience the horror of a turtle-paced computer again.