Mastering Printer Consumables: A Comprehensive Guide for CompTIA A+ Core 1 (220-1101)
Hey there, tech enthusiast! If you’re diving into the intricate world of IT and aiming to conquer the CompTIA A+ Core 1 (220-1101) exam, you’re in the right place. Among the many topics you’ll encounter, one that often trips up candidates is the deceptively simple task of installing and replacing printer consumables. Buckle up, because we're about to embark on a deep dive into this crucial skill. Ready? Let’s roll!
Why Printer Consumables Matter
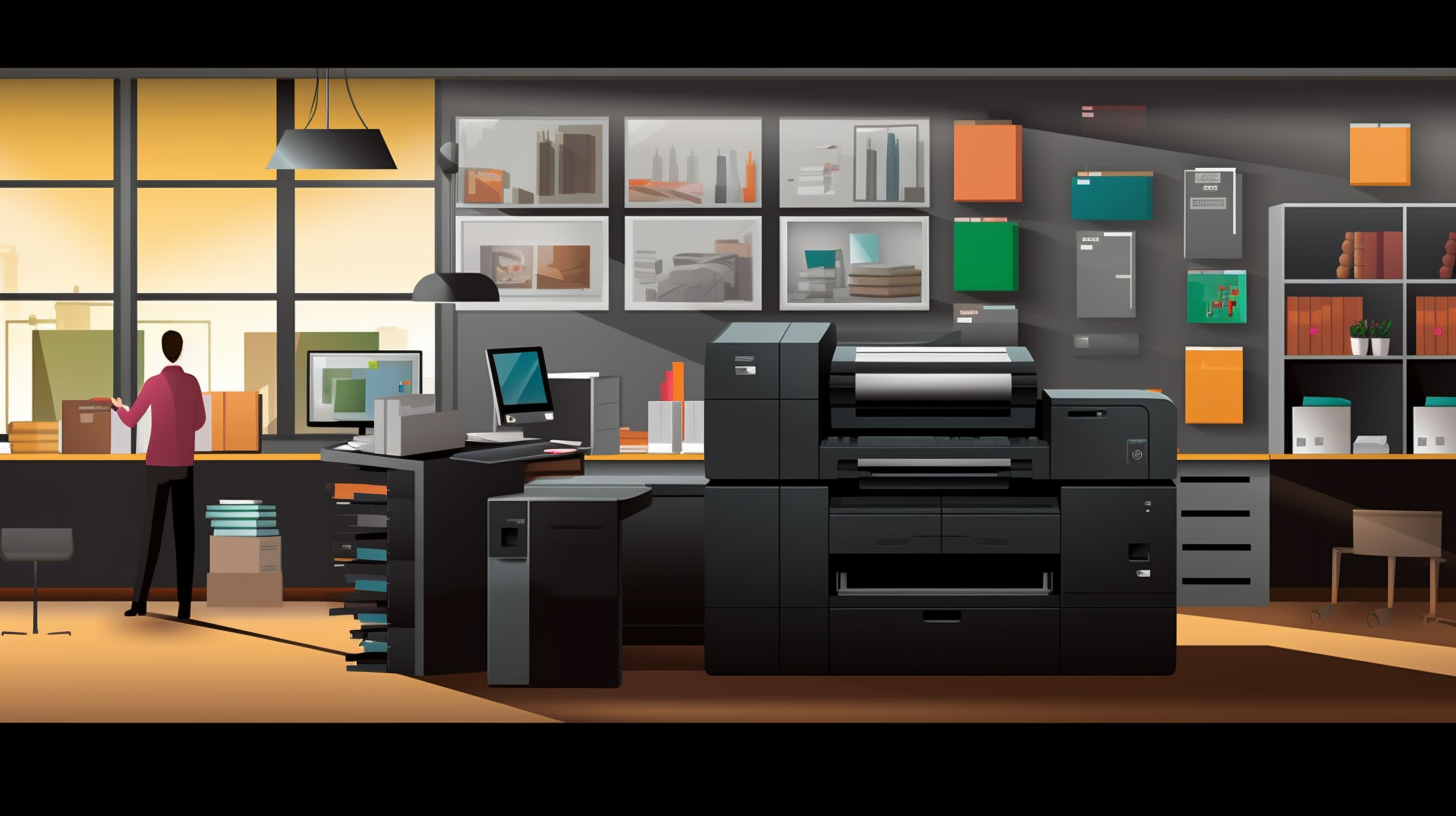
You might be wondering why such a seemingly mundane task holds weight in the IT certification arena. Well, think about it. Printers are ubiquitous in offices, schools, and even homes. Whether you're dealing with an inkjet or a laser printer, smooth operations hinge on properly installed consumables. These consumables – a fancy term for components that get used up and need replacing – include ink or toner cartridges, fusers, drums, and paper. If any of these go awry, you're looking at downtime and frustrated users.
The Big Players: Ink and Toner Cartridges
First on the list, ink and toner cartridges. These are the bread and butter of printing. For inkjets, these little guys harbor your print-quality ink, whereas, for laser printers, they hold toner – a fine, powdery substance that adheres to paper to create text and images.
Ink Cartridges
Ink cartridges for inkjet printers come in various shapes and sizes. Installing them is straightforward, but a few tips can make the process seamless:
- Check Compatibility: Ensure the cartridge is designed for your printer model. Using the wrong type can lead to printing errors or damage.
- Turn Off the Printer: Always power down the printer before swapping cartridges to avoid electrical mishaps.
- Open the Access Panel: Locate and open the printer’s access panel. You'll often find a release latch or button to make removing the old cartridge a breeze.
- Handle with Care: New cartridges have protective tapes or clips. Remove these carefully, and avoid touching the metal contacts to prevent electrostatic damage.
- Install and Test: Pop the new cartridge into place, snap the access panel shut, and power up the printer. A quick test page printout can confirm successful installation.
Toner Cartridges
For laser printers, toner cartridges are your mainstay. They’re a bit bulkier than their inkjet counterparts, but the installation process is similarly straightforward. Here’s a closer look:
- Safety First: Turn off the printer and let it cool. Lasers get hot!
- Open Sesame: Open the printer’s front panel to access the old toner cartridge.
- Out with the Old: Carefully remove the spent toner cartridge. Some models have easy-release levers, while others might require a gentle tug.
- Prep the New: Shake the new toner cartridge gently to distribute the toner evenly. Again, avoid touching the drum or any metal contacts.
- In with the New: Slide the new cartridge into place, ensuring it clicks securely. Close the panel, power up, and perform a test print.
The Other Essentials: Fusers and Drums
Beyond ink and toner, printers have other vital consumables like fusers and drums. These components play a significant role in ensuring your documents look sharp and professional.
Fusers
The fuser unit in a laser printer is responsible for bonding the toner to the paper. Over time, fusers wear out and need replacing. Here’s how to tackle that task:
- Cooling Off: Turn off the printer and allow it to cool down before you start. Fusers operate at high temperatures to melt the toner onto the paper.
- Access the Fuser: Open the printer’s access panels and locate the fuser unit. Depending on the model, you may need a screwdriver to remove panels or screws.
- Remove the Old Fuser: Carefully disconnect any connectors and screws holding the fuser in place. Slide it out gently.
- Install the New Fuser: Insert the new fuser unit into the same position, reconnect all connectors, and secure it with screws. Double-check everything is fastened tightly.
- Test the Printer: Close all panels, power up the printer, and print a test page to ensure the new fuser is functioning correctly.
Drums
The drum unit holds an electrostatic charge that attracts toner particles. This component is essential for transferring your print image onto paper. If your prints start looking streaky or blurred, it might be time for a drum replacement:
- Prep the Printer: Power off and unplug the printer. Access the drum unit by opening the necessary panels – often the same ones used for the toner cartridge.
- Remove the Cartridge: In some printers, the toner cartridge is integrated with the drum unit. For others, you’ll need to remove the toner cartridge first to access the drum.
- Replace the Drum: Slide the old drum unit out, and insert the new one carefully while avoiding direct contact with the surface to prevent damage.
- Reassemble: If you removed the toner cartridge, reinstall it into the new drum unit. Close all panels securely.
- Test It Out: Power up the printer and print a test page. Look for any improvements in print quality.
Paper Jams and Paper Quality
Printers and paper jams – a match made in office hell. But fret not, because you can stay ahead of these irritants with proper paper handling and quality checks:
- Paper Quality: Use high-quality paper suited for your printer type. Cheap or incompatible paper can increase the risk of jams.
- Load Correctly: Fan the paper stack before loading it into the tray to prevent sheets from sticking together. Ensure the paper guides are properly adjusted.
- Clear Jams Gently: If a jam occurs, refer to your printer’s manual for specific instructions. Remove the jammed paper slowly and carefully to avoid tearing it inside the printer.
- Clean the Rollers: Over time, rollers can accumulate dust and debris. Clean them periodically using a lint-free cloth dampened with water or isopropyl alcohol.
Tips for Exam Success
Alright, you’re well-versed in the practical side of printer consumables, but how do you ace this section in the CompTIA A+ Core 1 exam? Here are some study tips:
- Hands-On Practice: If possible, practice installing and replacing printer consumables on actual printers. The hands-on experience is invaluable.
- Refer to Manuals: Study the user manuals of various printer models to familiarize yourself with different procedures. Manufacturers often provide detailed instructions and diagrams.
- Use Study Guides: Invest in reputable study guides that cover printer maintenance topics. These guides often include practice questions to test your knowledge.
- Stay Updated: Technology evolves, and so do printers. Keep yourself updated on the latest trends and models to remain knowledgeable in the field.
- Join Study Groups: Engage with fellow candidates in online forums or study groups. Discussing scenarios and sharing experiences can enhance your understanding.
And there you have it – a comprehensive guide to mastering the art of installing and replacing printer consumables. While it might seem like a minor aspect of IT support, proficiency in this area marks you as a skilled and detail-oriented professional. So go ahead, roll up your sleeves, and get hands-on with those printers. Your CompTIA A+ certification is just around the corner, and with your newfound knowledge, you’re more than equipped to ace that exam. Good luck, and happy printing!