
CompTIA A+ Storage Troubleshooting: How I Diagnose Drive and RAID Problems Without Making Expensive Mistakes
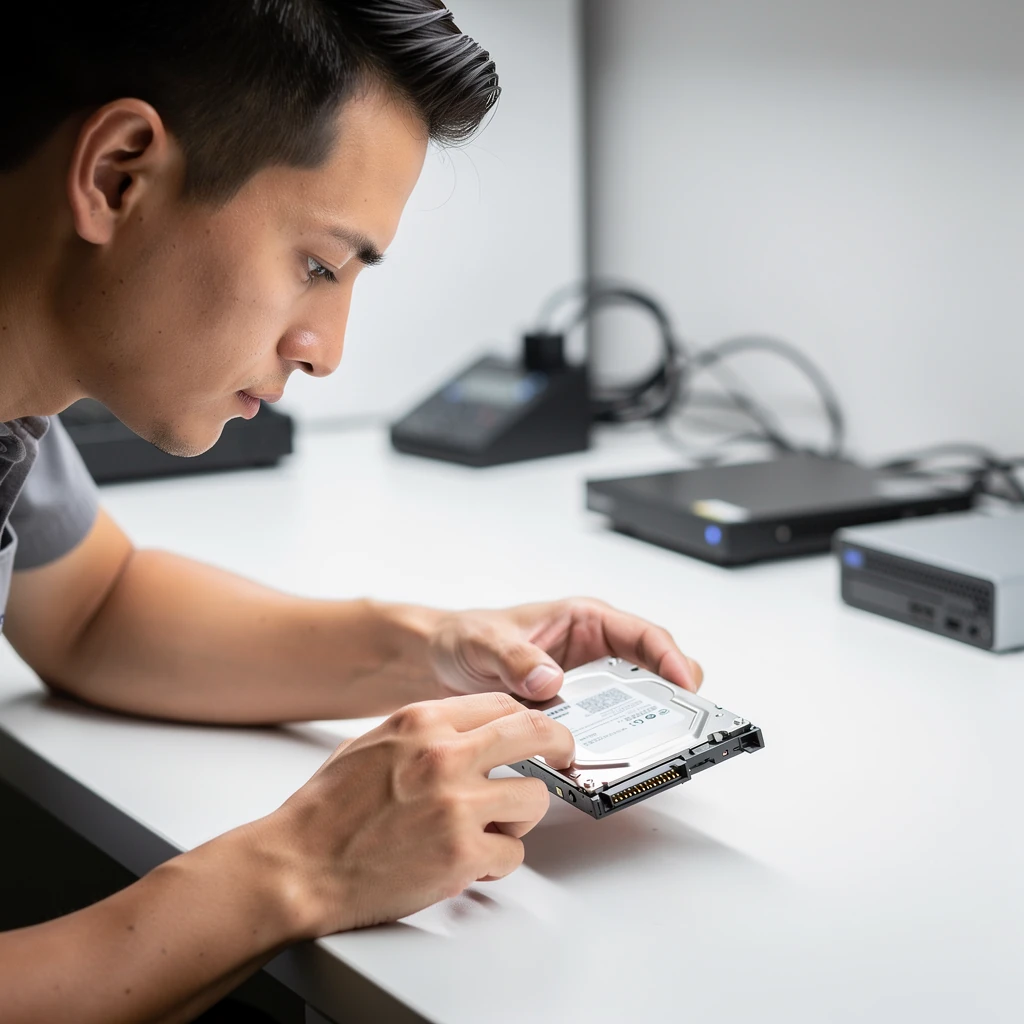
1. Why Storage Troubleshooting Matters So Much on the A+ Exam
Honestly, storage problems show up all the time in entry-level support, and if you start guessing, they can turn into data-loss situations real quick. That’s really why CompTIA A+ Core 1 puts so much weight on troubleshooting instead of just testing whether you can memorize a bunch of definitions. You’ve gotta read the symptom, choose the right tool, and, just as important, take the least destructive next step you can.
What the exam is really testing is whether you can tell the difference between a dead drive, a bad cable, a controller setting issue, a missing partition, a boot problem, and a degraded RAID array. There’s one more rule that belongs right at the top of the page: RAID is not backup. Sure, it can improve availability, but it doesn’t replace having separate backups.
2. A Safe Troubleshooting Workflow and a Few Data-Safety Rules
I always tell new techs to follow a repeatable process like this:
- Start by pinning down the exact symptom.
- Then ask the big question: does this data matter, and is there a backup already in place?
- Check the physical stuff first — connections, power, seating, and heat.
- After that, verify detection in BIOS/UEFI.
- Check OS detection and disk status.
- Review partitions, file system state, and mount status.
- Then I’d line up what SMART is saying, what Event Viewer’s throwing at you, and what the vendor’s own diagnostics are showing. That combo usually tells the real story.
- From there, you decide what makes the most sense next — repair it, replace it, rebuild it, recover the data, or kick it up the chain if it’s beyond the bench.
Data-safety rules: do not initialize a used disk just because Windows prompts you, do not format before confirming recovery needs, do not run invasive repair tools first on a failing drive, and do not rebuild RAID until the failed member is positively identified.
3. Quick Storage Refresher: What Actually Matters When You’re Troubleshooting
HDDs are mechanical devices, so things like clicking, grinding, bad sectors, and repeated slow retries are absolutely worth paying attention to. SSDs don’t have moving parts, so they tend to fail in a different way — sudden disappearance, read-only behavior, boot problems, or just brutal slowdown. Sometimes an SSD will go into a protective read-only mode when wear or firmware detects a serious issue, but honestly, other times it just fails outright.
So anyway, keep these distinctions straight:
- M.2 is a form factor, not a protocol.
- SATA and NVMe are not interchangeable even if both drives are M.2.
- M.2 compatibility depends on keying, length, slot wiring, firmware support, and whether the slot supports SATA, PCIe/NVMe, or both.
- And yeah, this one catches people all the time — on some systems, using a certain M.2 slot can disable one or more SATA ports. That one catches people all the time.
- Older systems can be especially annoying here — they might see the NVMe drive just fine, but still not have the boot support to start from it.
For file systems and partitioning, remember the chain: a disk can be physically present but still unusable because it is Not Initialized, Offline, Unallocated, RAW, missing a drive letter, locked by encryption, or formatted with an unsupported file system such as ext4 or APFS.
On modern Windows UEFI systems, GPT is generally preferred and booting usually depends on an EFI System Partition. Legacy BIOS systems commonly use MBR-style boot structures.
4. Detection Ladder: Where Is the Failure?
This is one of the most useful exam frameworks:
- BIOS/UEFI detects the hardware.
- Windows detects the device.
- Disk Management sees the disk.
- The disk has a valid partition table.
- The volume has a readable file system.
- The volume has a drive letter or mount point.
- The user can access the data.
A device showing in Device Manager only proves some level of hardware enumeration. It does not guarantee the disk is healthy, initialized, mounted, readable, or bootable. Disk Management is where you judge disk and volume usability.
5. BIOS/UEFI and Storage Mode Pitfalls
Before deep Windows troubleshooting, check firmware. Confirm the drive is detected, verify boot order, and inspect controller mode such as AHCI, RAID, or older IDE/legacy modes. You’ll also want to verify the UEFI versus Legacy/CSM boot settings.
One major trap: changing SATA mode on an existing Windows installation can cause boot failure if the OS was installed with different storage drivers. A machine that worked fine in AHCI mode can fail to boot if somebody switches it to RAID mode, and the reverse is true too.
If a system suddenly throws a “No boot device” message, I’d immediately ask whether there was a BIOS reset, a firmware update, a CMOS battery issue, or a motherboard replacement. Those events often revert boot mode, boot order, or controller settings.
6. Symptom: Drive Not Detected at All
What it suggests: physical connection failure, dead drive, disabled controller, unsupported interface, bad enclosure, bad port, or laptop caddy/flex-cable failure.
First checks:
- Start by reseating the SATA data and power cables, or reseating the M.2 drive if that’s what you’re dealing with.
- Then try a known-good cable, port, power lead, or USB cable.
- On desktops, don’t overlook the basics: SATA has separate data and power connections, and either one can ruin your day if it’s loose or bad.
- On laptops, I’d check the drive caddy, interposer, or ribbon/flex cable first, because that’s often where the problem lives.
- Check BIOS/UEFI storage detection and controller settings.
- For external drives, try another USB port — preferably a rear motherboard port — and another power source if the enclosure needs one.
Safe next action: isolate drive versus cable versus port versus enclosure. A lot of so-called drive failures are really bridge-board failures — the USB-to-SATA or USB-to-NVMe adapter dies, even though the actual drive inside is fine. If practical and safe, test the bare internal drive separately.
Replace or escalate: if the drive is not detected anywhere, replacement is likely. If it is intermittent and contains important data, stop repeated power cycles and protect the data.
7. Symptom: Seen by BIOS or Windows but Not in File Explorer
What it suggests: the hardware may be present, but the disk is not usable as a mounted volume.
In Disk Management, look for these common states:
- Offline – may be manually offline or have a signature collision.
- Not Initialized – new disk or damaged partition metadata.
- Unallocated – no partition exists.
- RAW – file system is missing, corrupt, or unreadable to Windows.
- Healthy but no letter – volume exists but is not mounted in File Explorer.
Mini lab: safe verification workflow
- Open Disk Management.
- The first thing I’d figure out is whether the disk is brand new and empty or whether it’s been used before, because that completely changes your next move.
- If it’s a new disk, bring it online if needed, initialize it, use GPT on most modern UEFI systems, create a simple volume, format it, and then assign a drive letter.
- If it is a used disk and the user expects files, do not initialize, repartition, or format until recovery needs are assessed.
DiskPart commands you should recognize:
diskpartlist diskselect disk ndetail diskattributes diskonline disklist volumeassign
Those are generally safe for inspection except when you move into commands like clean, convert, create partition, or format, which can be destructive.
8. Symptom: The system’s crawling, freezing, or taking what feels like forever to boot
What it suggests: storage may be the bottleneck, but prove it first.
Use Task Manager and Resource Monitor to check disk active time and queue behavior. Then correlate with Event Viewer under Windows Logs > System. Look for disk, controller, reset, timeout, or driver-related entries from sources such as Disk, storahci, iaStor, or NVMe/controller drivers.
SMART guidance: SMART is useful but not definitive. Attributes are vendor-specific, and a “passed” health summary does not guarantee a good drive. Common warning signs include reallocated sectors, current pending sectors, uncorrectable sectors, media or data integrity errors, high temperatures, and SSD wear indicators like percentage used or media wearout.
SSD-specific checks: low free space, firmware issues, and thermal throttling can hurt performance, especially on NVMe drives in compact laptops. TRIM does help long-term write performance, but in a basic support case, it’s usually a contributing factor rather than the first thing I’d blame.
Safe next action: if SMART, logs, and symptoms all point to failure, back up first and replace. If the SSD is just full or overheating, improve free space, airflow, and cooling before you decide the hardware is dead.
9. CHKDSK: Useful, but You’ve Gotta Use It Carefully
chkdsk is for logical file-system problems, not physical repair.
chkdsk X:read-only analysischkdsk X: /ffixes logical file-system errorschkdsk X: /rscans for bad sectors and is more intensive
If the disk is otherwise stable and you’re really just dealing with file-system corruption, CHKDSK can definitely help. On a failing drive, especially one that is clicking, dropping offline, or showing severe I/O errors, /f and especially /r can add stress. If it looks more like a hardware problem, stop for a second and ask yourself whether you should image or back up the drive before you reach for repair tools.
10. Symptom: Clicking, grinding, overheating, or other obvious signs that the drive isn’t happy
Clicking or grinding from an HDD strongly suggests mechanical failure. Too much heat can absolutely hurt performance and reliability on both HDDs and SSDs. Stop using it normally, protect the data if you can, and replace the drive. Repeated reboots and power cycles can make recovery worse, so don’t keep hammering away at it.
If the drive’s still readable, image it or back it up before you do anything more aggressive. If business data, legal data, or just plain irreplaceable files are involved, escalate quickly and document the symptoms, serial numbers, and what you’ve done so far.
11. Symptom: Boot Failure or a “No Boot Device Found” Message
Separate boot issues into categories:
- Drive not detected – hardware, cable, slot, controller, or firmware support issue.
- Drive detected but not bootable – wrong boot order, wrong boot mode, missing EFI entry, damaged bootloader, or cloned disk issue.
- RAID volume not presented – controller or array state problem.
For UEFI systems, verify GPT layout and the presence of an EFI System Partition. For legacy boot, think MBR-style boot structures. If firmware was reset, check UEFI versus Legacy/CSM and confirm the correct boot target is selected.
Recovery tools: use Windows Recovery Environment first. Startup Repair may help. Manual tools such as bootrec and bcdboot can be appropriate, but only after confirming the drive is healthy enough and the problem is truly boot-structure related rather than hardware detection failure.
12. Symptom: Read/Write Errors, Corruption, RAW Volumes, or Read-Only Media
Differentiate permissions, encryption, logical corruption, and failing hardware. A volume that becomes RAW may have file-system corruption. A flash device that suddenly becomes read-only may be worn out or in a protective failure state. Some SD cards and SD adapters have physical write-protect switches, while a lot of USB flash drives don’t.
Safe checks: review SMART if available, check Event Viewer, inspect DiskPart attributes, and confirm whether BitLocker or device encryption is involved. If corruption is spreading or the device keeps disconnecting, stop repair attempts and protect the data.
13. External Drives and Removable Media Diagnostics
External storage failures are often not the disk itself. Common causes include bad USB cables, weak bus power, failing card readers, failed enclosure bridge boards, unsupported file systems, and safe-removal problems.
Mini lab: isolate an external drive issue
- Try another cable and another USB port.
- Test on another computer.
- Listen and feel for spin-up or activity on HDD-based enclosures.
- If the enclosure is suspect, test the internal drive separately when practical.
- Check Disk Management for offline, RAW, or unallocated states.
If the bare drive works but the enclosure does not, the bridge board was the failure, not the disk.
14. RAID Troubleshooting Essentials
Key RAID terms:
- Degraded – array still functioning but fault tolerance is reduced.
- Failed – array no longer usable.
- Rebuilding – redundancy is being restored.
- Hot spare – standby disk used automatically after failure.
- Hot swap – replace a drive without shutting down, if supported.
- Foreign configuration – controller detects RAID metadata that does not match current array expectations.
RAID quick recall:
- RAID 0: minimum 2 disks, striping, no fault tolerance.
- RAID 1: minimum 2 disks, mirroring, usually survives one disk failure per mirror.
- RAID 5: minimum 3 disks, parity, can survive one disk failure if the remaining disks are healthy.
- RAID 6: minimum 4 disks, dual parity, can survive two disk failures.
- RAID 10: typically minimum 4 disks, striped mirrors; fault tolerance depends on which disks fail, not simply “one total.”
For A+, “hardware RAID” usually means controller-managed RAID, but many motherboard implementations are really firmware-assisted and may depend on chipset drivers. That matters when moving arrays between systems.
Degraded array workflow:
- Use the RAID management tool first.
- Identify the failed slot by controller software, status indicators, or enclosure labeling.
- Verify the replacement disk is the right type and equal or greater capacity.
- Confirm whether hot swap is supported before pulling anything.
- Replace the failed member and monitor rebuild progress.
Do not pull disks for individual testing casually on controller-managed arrays. Follow manufacturer procedure. Rebuilds stress remaining disks, and RAID 5 rebuilds also carry risk from latent errors or unrecoverable read errors on older or large drives.
Exam actions by RAID level:
- RAID 0 member failed: restore from backup. In normal A+ workflow, rebuilding is not the answer, though specialized recovery may exist outside normal support.
- RAID 1 degraded: identify failed member, replace, rebuild, monitor.
- RAID 5 degraded: replace only after positive identification; if another disk shows warnings, protect data and escalate.
15. Security and data-protection considerations
Before replacing drives or changing controllers, check for BitLocker, device encryption, or encrypted external drives. Storage mode changes, motherboard changes, and RAID/controller changes can trigger recovery mode. Make sure recovery keys are available before making hardware changes.
In business environments, document serial numbers, slot positions, symptoms, and user impact so you’ve got a clean record of what happened. If sensitive data’s involved, follow your chain-of-custody and disposal policies exactly — no shortcuts. And remember, secure erase and sanitization aren’t the same thing as formatting. Those belong in decommissioning workflows, not in everyday troubleshooting.
16. Tool safety: what’s safe, what needs caution, and what can absolutely wreck your day if you rush it
- Generally safe/read-only: BIOS/UEFI viewing, Device Manager, Disk Management inspection,
list disk,list volume, SMART reads, Event Viewer. - Use with caution:
online disk, drive-letter changes, firmware updates,chkdsk /f. - Potentially destructive: initialize, format,
clean,convert, repartition, RAID rebuild on the wrong member, SSD/controller firmware updates on unstable hardware without backup.
17. Exam-Day Best-Next-Step Drills
Scenario 1: New blank disk appears in BIOS and Disk Management as Not Initialized. Best next step: initialize it, usually as GPT on a modern UEFI system, then partition and format.
Scenario 2: Used disk appears as RAW and the user says old files should be there. Best next step: stop and assess recovery, not format.
Scenario 3: External drive not detected on one PC but works when removed from its enclosure. Best next step: replace the enclosure or bridge hardware, not the disk.
Scenario 4: System fails to boot after BIOS reset. Best next step: check boot order, UEFI versus Legacy mode, and AHCI/RAID mode before replacing hardware.
Scenario 5: RAID 1 is degraded. Best next step: identify the failed member in the RAID utility before replacing anything.
18. Fast A+ Cheat Sheet
- M.2 ≠ NVMe
- RAID ≠ backup
- Device Manager ≠ mounted volume
- Detected drive ≠ bootable drive
- CHKDSK ≠ hardware repair
- SMART passed ≠ guaranteed healthy drive
Rapid symptom-to-tool mapping:
- Not detected: BIOS/UEFI, cable swap, alternate port, enclosure isolation
- Detected but not usable: Disk Management, DiskPart
- Slow/freezing: Task Manager, Resource Monitor, Event Viewer, SMART, manufacturer diagnostics
- Boot issue: BIOS/UEFI, Windows Recovery Environment, boot repair tools
- RAID degraded: RAID management utility first
19. Conclusion
The A+ storage objective is really about disciplined troubleshooting. Find where the failure occurs in the detection chain, protect the data, verify the basics before making changes, and avoid destructive guesses. If you remember that a visible device is not always a usable volume, that M.2 does not automatically mean NVMe, and that RAID does not replace backup, you will answer exam questions more safely and troubleshoot real systems more effectively.