
CompTIA A+ Core 1 RAM Installation Guide: How to Choose, Install, and Troubleshoot Memory the Right Way
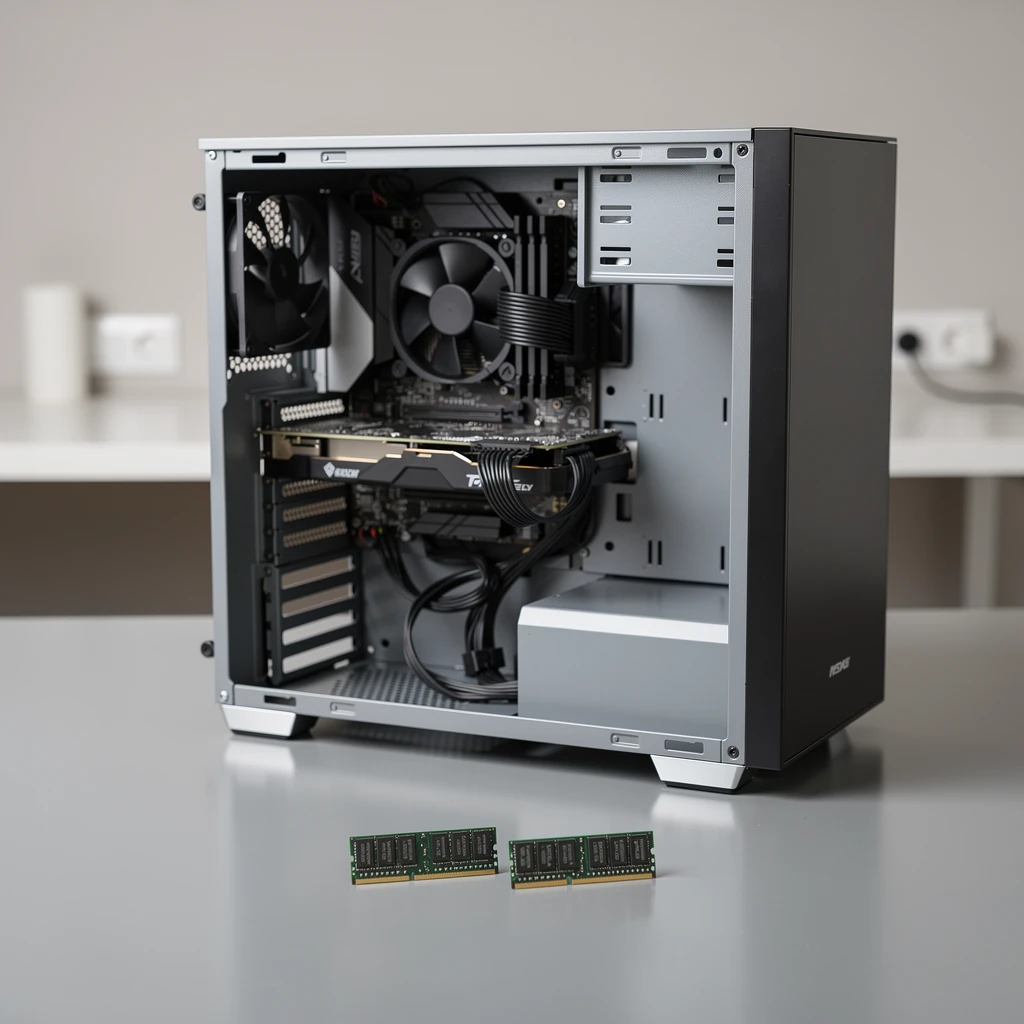
Introduction: Installing the Right RAM Is Mostly a Compatibility Job
For CompTIA A+ Core 1, RAM questions are rarely about memorizing a definition. They’re usually scenario questions: figure out what kind of system you’re dealing with, pick the right module, install it safely, and then make sure the machine actually accepts it. That is also how real bench work goes. Most memory mistakes happen before the case is even opened.
The habit to build is simple: Platform → Form Factor → Generation → Capacity → Speed → ECC Type → Slot Order → Verify. If you follow that order, you avoid most bad purchases and most no-boot headaches.
This guide stays focused on the A+ objective “Given a scenario, install the appropriate RAM,” but it also reflects real support work: desktops, laptops, OEM limitations, verification steps, and the common traps that cause people to call good RAM “bad.”
What RAM Does, and How It Differs from Storage
RAM is the system’s short-term working memory. It’s volatile, which just means it forgets everything once the power goes away. Storage devices like SSDs and hard drives are persistent, so they hold onto data even when the system’s shut down. The CPU does its active work in RAM because RAM is much faster to access than storage.
In support terms, too little RAM usually shows up as poor multitasking, constant disk activity, and sluggish app switching. And here’s the thing: when RAM’s bad or just plain mismatched, you can run into trouble before Windows even has a chance to start. You might see a black screen, hear beep codes, notice diagnostic LEDs, or end up with a machine that gets oddly unstable right after the upgrade. So RAM affects both performance and basic system startup.
Form Factors: DIMM vs SO-DIMM vs Soldered Memory
The first question is always the platform. Desktop systems usually use DIMMs. Laptops and many mini-PCs use SO-DIMMs. They are physically different and not interchangeable.
Some modern ultrabooks, tablets, mini PCs, and all-in-ones do not use removable RAM at all. They use soldered LPDDR memory. In those systems, there’s nothing to install, so the right technician move is to check whether the system is upgradeable before you even quote parts. Some laptops also use a hybrid design: part of the memory is soldered, plus one open SO-DIMM slot.
Exam trap: If the scenario says ultrabook, thin-and-light, tablet-style device, or sealed compact system, do not assume there is a removable SO-DIMM slot. Check the OEM documentation first.
DDR Generations: DDR3, DDR4, and DDR5
DDR generations are not interchangeable. They’re different in the notch position, pin count, voltage, signaling, and the overall electrical design, so this isn’t just a cosmetic thing. That notch is there for a reason, and it’s doing you a favor. A correct module should line up naturally, and if it doesn’t, stop right there. Do not force it.
Useful exam-safe examples:
- DDR3 DIMM: 240 pins, typically around 1.5 V
- DDR4 DIMM: 288 pins, typically 1.2 V
- DDR5 DIMM: 288 pins, typically 1.1 V, but different keying and electrical design from DDR4
That last point matters: DDR4 and DDR5 desktop DIMMs both have 288 pins, but that does not mean they are compatible. They are keyed differently and should not fit into each other’s slots correctly.
For laptops, SO-DIMM pin counts also vary by generation. You do not need to memorize every number for A+, but you should know that generation and form factor both matter.
DDR5 also introduces changes that confuse buyers. A lot of DDR5 modules also include on-module power management and internal error handling like on-die ECC. That is not the same thing as platform-level ECC memory support. A system having DDR5 does not automatically mean it supports ECC UDIMMs in the workstation/server sense.
Capacity, CPU Limits, and 32-bit vs 64-bit Reality
Capacity is only one part of compatibility. Modern systems are also limited by the CPU’s memory controller, the motherboard’s firmware and layout, and plain old slot count. So even if the sticks look like they fit, that still doesn’t mean the system’s going to accept them the way you expect. Always check:
- Maximum total supported memory
- Maximum per-slot capacity
- Supported module type
- Supported generation and speed range
Operating system limits matter too. A 32-bit client version of Windows typically shows only about 3.2 to 3.5 GB usable even if 4 GB or more is installed, because the 4 GB address space is shared with memory-mapped hardware. And no, that doesn’t automatically mean the RAM is bad. A 64-bit OS can address much more memory, assuming the hardware and edition support it.
Also distinguish these terms when verifying in Windows:
- Installed memory: physically detected RAM
- Usable memory: what the OS can actually use after hardware reservations and platform limits
- Committed memory: active memory usage by the OS and applications, not a hardware detection value
Speed, JEDEC, and XMP/EXPO
Memory speed is commonly written like DDR4-3200 or DDR5-5600. Technically, that number is a transfer rate in MT/s, although a lot of folks still call it MHz in everyday conversation. For A+, the practical point is that RAM often boots first at a safe JEDEC default. Higher advertised kit speeds may require enabling XMP or EXPO in BIOS/UEFI, plus motherboard and CPU support.
That means a customer can buy DDR5-6000 memory and still see it run lower until the proper profile is enabled. On many platforms, enabling XMP/EXPO is effectively an overclocked profile, even though it is common and vendor-supported.
If modules are mixed, systems usually fall back to the slowest common supported speed and timings. Mixing capacities or brands may still work, but it can reduce optimal channel behavior or produce instability on picky platforms.
Channels, Slot Population, and Flex Mode
Mainstream desktops and laptops are usually dual-channel. Higher-end workstation, HEDT, and server platforms may support quad-channel or even more, but that’s not really the focus for A+. For the exam, the practical lesson is to populate the correct paired slots according to the manual.
Common desktop example: on a 4-slot board, the manual may tell you to install two modules in A2 and B2 first, not A1 and A2. If you use the wrong pair, the system may still boot but lose optimal memory bandwidth.
Some platforms also support flex mode or asymmetric operation. For example, an 8 GB module plus a 4 GB module might let part of the memory run in dual-channel and the rest in single-channel. That is helpful to know in the field, but on A+ questions, matched pairs in the recommended slots are usually the best-answer choice.
ECC, Non-ECC, and Registered Memory
Most consumer desktops and laptops use non-ECC unbuffered memory. ECC memory adds error correction for improved reliability and is common in servers and some workstations. Registered DIMMs (RDIMMs) are different from ECC itself; registration changes electrical loading and is used on platforms designed for larger memory configurations.
Important distinctions:
- ECC does not automatically mean registered
- Most consumer boards do not support ECC correction, even if a module physically resembles a standard DIMM
- Some prosumer platforms support ECC UDIMMs only with specific CPUs, chipsets, and BIOS support
- Some boards may accept ECC UDIMMs but run them as non-ECC, while others will not boot at all
For A+ endpoint scenarios, assume non-ECC unbuffered memory unless the prompt clearly says workstation/server or gives platform specs that require ECC.
Rank, Density, and Why “Looks Compatible” Can Still Fail
One real-world problem newer techs miss is rank/density compatibility, especially on older business desktops and laptops. A module can have the right form factor, generation, and capacity and still fail because the system does not properly support that chip organization.
You do not need deep electrical theory here. Just remember this: older systems can be picky about high-density modules, unusual ranks, or newer large-capacity sticks. If a legacy system refuses otherwise-correct RAM, check the OEM manual, validated part lists, or known-good module specs before assuming the motherboard is dead.
How to Choose the Correct RAM Before You Buy
This is the process that prevents returns:
- Identify the exact system model or motherboard revision.
- Confirm whether the system is upgradeable or uses soldered LPDDR.
- Confirm form factor: DIMM or SO-DIMM.
- Match DDR generation exactly.
- Check total and per-slot capacity limits.
- Check supported speed range and whether the listed speed is JEDEC or XMP/EXPO-dependent.
- Verify ECC vs non-ECC and UDIMM vs RDIMM requirements if relevant.
- Check existing module labels and current slot population.
- Review the motherboard manual or OEM support information and, if available, the validated memory compatibility list.
Compatibility list note: A validated vendor list is guidance, not magic. But for DDR5, high-capacity kits, and XMP/EXPO memory, validated compatibility matters more than it used to on basic JEDEC memory.
Worked example: If the manual says “2 x DDR4 DIMM, up to 64 GB, non-ECC unbuffered, dual-channel, DDR4-3200(O.C.) / 2933 / 2666,” that tells you several things at once: desktop DIMMs, DDR4 only, no ECC requirement, 64 GB total max, and that 3200 may depend on profile support or platform conditions rather than being guaranteed by default.
How to Read RAM Labels and Specs
A module label often gives you more than the retail box. Example: 8GB 1Rx8 PC4-3200AA.
- 8GB = capacity
- 1Rx8 = rank/chip organization clue
- PC4 = DDR4 family
- 3200 = speed grade
Another example: 16GB DDR5 SO-DIMM 5600 non-ECC tells you the capacity, generation, laptop form factor, speed grade, and ECC status. If the system requires desktop DIMMs, that SO-DIMM is immediately wrong no matter how attractive the price is.
Safe Installation and Service Prep
Power the system down, disconnect AC, and use proper ESD precautions. Handle the modules by the edges, and try not to touch the gold contacts unless you absolutely have to. A wrist strap and anti-static mat are ideal on a bench, but at minimum use a clean workspace and sensible grounding practices.
For laptops, follow the OEM service manual. Many modern systems have internal batteries, hidden clips, fragile bottom covers, or battery-disable procedures in BIOS. “Hold the power button” can help discharge residual power in some cases, but it is not a substitute for proper service steps or ESD handling.
In business environments, document the original slot population and protect customer data. On encrypted devices, hardware changes can sometimes trigger BitLocker or device-encryption recovery prompts, so make sure recovery procedures are available before service.
Desktop and Laptop Installation Basics
Desktop DIMM: open the retention clips, align the notch, and press straight down evenly until the latches click into place. Tight clearances around large CPU coolers are common, so work carefully and verify the module is fully level and locked.
Laptop SO-DIMM: insert the module at an angle, usually around 25 to 30 degrees, push it fully into the slot, then press it down until the side clips lock. A partially inserted SO-DIMM is one of the most common causes of no-boot after laptop memory service.
After installation, the first boot may take longer than usual because the platform is doing memory training. DDR5 systems especially can pause longer on first POST. Give the system a little time before you assume the upgrade failed.
Verification in BIOS/UEFI and Windows
First, verify in BIOS/UEFI. Check total memory, detected slots, and speed if the firmware shows those values. Some firmware also shows whether XMP or EXPO is enabled, and sometimes it’ll even show channel information. If the system becomes unstable after a profile change, return to defaults or load optimized defaults and retest.
In Windows, use Task Manager and System Information:
- Task Manager → Performance → Memory: total memory, speed, slots used, form factor, hardware reserved
- msinfo32: installed physical memory vs total physical memory
Task Manager is useful, but do not rely on it for channel mode. Just be aware that “slots used” can be inaccurate on some OEM systems. For deeper verification, BIOS/UEFI or advanced hardware information utilities are better choices.
Preferred modern PowerShell examples:
Get-CimInstance Win32_PhysicalMemory | Format-Table Manufacturer, PartNumber, Capacity, Speed, ConfiguredClockSpeed
Get-CimInstance Win32_PhysicalMemoryArray | Format-List MemoryDevices, MaxCapacity
Get-CimInstance Win32_ComputerSystem | Select-Object TotalPhysicalMemory
Legacy note: wmic memorychip get manufacturer, capacity, speed, partnumber may still work on older systems, but WMIC is deprecated. Prefer PowerShell/CIM on current Windows builds.
Troubleshooting RAM Problems Methodically
Common memory-related symptoms include no POST, black screen, beep codes, memory LEDs, less RAM detected than installed, random crashes, and instability under load. But not every “slow PC” is a RAM problem. Storage thrashing, overheating, bad drivers, and CPU instability can look similar.
Use this order:
- Reseat the module and verify correct slot population.
- Test one module at a time in a known-good slot.
- Try a known-good compatible module.
- Recheck generation, form factor, capacity, ECC type, and rank/density compatibility.
- Allow time for memory training on first boot.
- Check BIOS/UEFI detection and load defaults if settings are suspect.
- Run diagnostics.
For diagnostics, start with Windows Memory Diagnostic for a quick check, then use a dedicated bootable memory test utility or OEM hardware diagnostics for deeper testing. A short pass does not always catch intermittent faults, so repeated or extended testing is sometimes necessary.
If firmware updates are known to improve memory compatibility, update only when justified and follow vendor procedure carefully. BIOS updates do carry risk, especially if the system’s already unstable or there’s any chance of power loss. Also remember that resetting BIOS or clearing CMOS can restore boot order, SATA mode, and other settings you may need to reconfigure.
Three High-Value Real-World Scenarios
1. Desktop upgrade for performance: A user has one 8 GB DDR4 DIMM and poor multitasking. The board supports dual-channel, non-ECC DDR4. Best move: add a matching 8 GB DIMM in the correct paired slot, verify 16 GB detected in BIOS, then confirm speed and usable memory in Windows.
2. No boot after upgrade: A laptop gets a new SO-DIMM and now shows a black screen. First moves: reseat the module, verify the exact DDR generation and capacity support, and make sure the system isn’t one of the soldered-memory models. If needed, test with one known-good compatible SO-DIMM.
3. Installed but not fully usable: A machine shows 8 GB installed but only about 3.5 GB usable. Before replacing hardware, check whether it is running a 32-bit client OS or has significant hardware-reserved memory, such as integrated graphics allocation.
A+ Exam Traps and Best-Answer Strategy
CompTIA likes distractors. The wrong answer often sounds plausible unless you read the platform details carefully.
- Laptop usually points to SO-DIMM, unless memory is soldered.
- Best performance usually points to matched modules in the correct paired slots.
- No POST after upgrade points first to reseating and compatibility, not immediate motherboard replacement.
- Installed but not usable points to OS architecture or hardware reservation before “bad RAM.”
- Workstation/server is your clue to consider ECC or registered memory only if the platform supports it.
Use this elimination order on multiple-choice questions: wrong form factor, wrong generation, wrong ECC type, wrong slot order, then any answer that chooses capacity alone without checking support.
Rapid Review and Final Bench Checklist
Remember this order: Platform → Form Factor → Generation → Capacity → Speed → ECC Type → Slot Order → Verify.
Must-know facts:
- DIMM is for desktops; SO-DIMM is for laptops and compact systems.
- DDR3, DDR4, and DDR5 are keyed differently and are not interchangeable.
- Some systems use soldered LPDDR and cannot be upgraded.
- Mixed RAM may work, but often at the slowest common speed and not always with optimal channel behavior.
- Task Manager shows useful memory info, but BIOS/UEFI or advanced hardware tools are better for channel verification.
- WMIC is legacy; PowerShell/CIM is the modern Windows method.
- 32-bit client Windows often shows only about 3.2–3.5 GB usable.
Best first troubleshooting moves: reseat, test one stick at a time, verify compatibility, check BIOS detection, then run diagnostics.
If you think like a technician instead of just memorizing terms, RAM questions get much easier. The exam wants the appropriate module, the correct installation method, and the most logical next step when something goes wrong. That is exactly what good support work demands too.