
CompTIA A+ Core 1 (220-1101): How to Troubleshoot Motherboard, RAM, CPU, and Power Problems
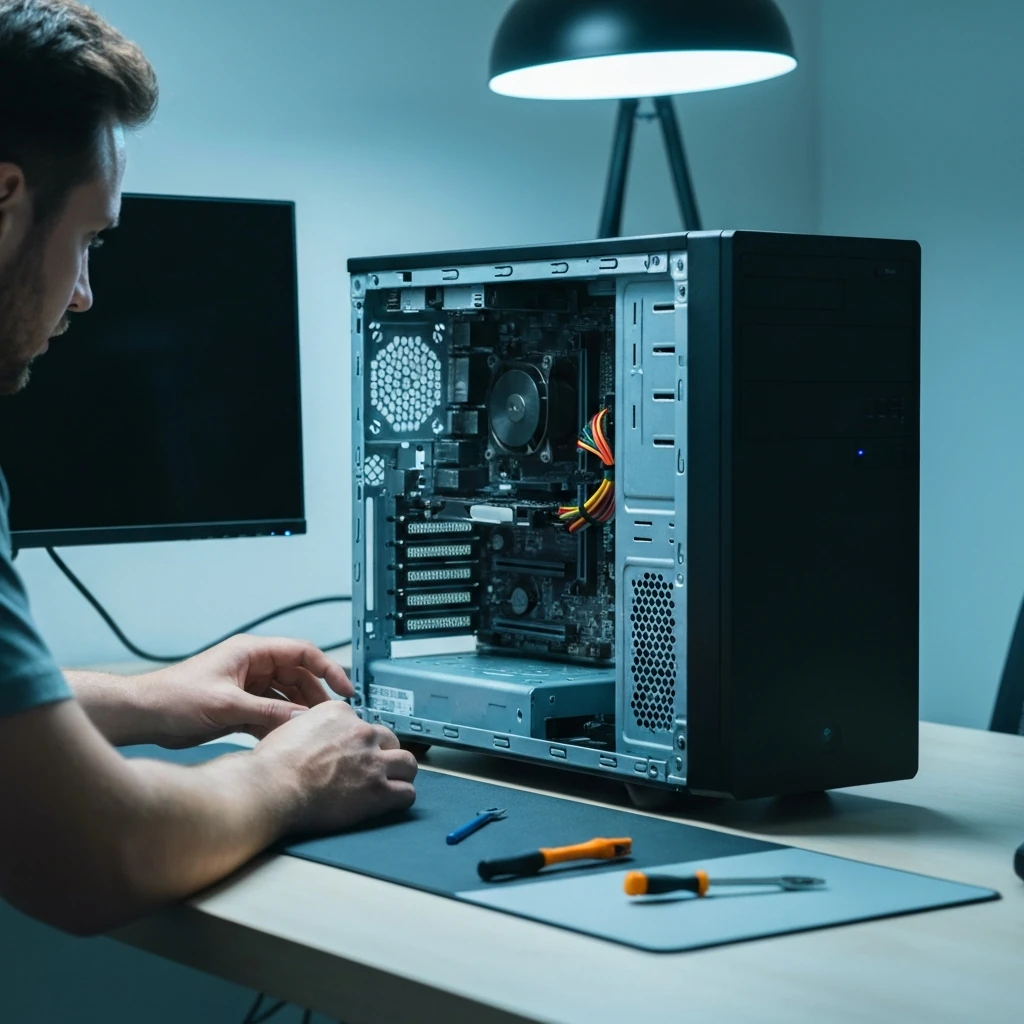
Introduction: Classify the Symptom Before You Replace a Part
A “dead PC” is not a diagnosis. For CompTIA A+ Core 1—and honestly, for real bench work too—the first job is to figure out what kind of failure you’re actually looking at: no power, no POST, no display, no boot, or those annoying intermittent shutdowns and reboots. To the user, they can all look pretty similar, but from a troubleshooting standpoint they send you in very different directions.
That is where beginners lose time and exam points. A black screen is not automatically a bad motherboard. Fans spinning does not prove the board is healthy. Reaching BIOS or UEFI means POST completed, so you are no longer in a motherboard, RAM, or CPU startup failure; you are now looking at boot configuration or storage. CompTIA emphasizes that distinction.
The way I teach it is simple: figure out what the machine is actually doing, start with the smallest, safest test that’s most likely to give you an answer, narrow the problem down, confirm the repair, and then write down what you changed. That last part really matters. Reseat before replace. Use known-good parts when possible. Do not guess just because the screen is black.
Start Safe and Use a Process
Use ESD precautions, and handle the parts by the edges so you’re not needlessly stressing the hardware. If you’ve got an antistatic strap and an ESD-safe mat, great—that’s the ideal setup. On desktops, unplug the AC power before you even crack the case open. On laptops, unplug AC power and disable or disconnect the internal battery if the service procedure calls for it. After you unplug it, pressing the power button can help drain a little leftover charge from the board, but just to be clear, that does not make the PSU safe to open up from the inside. Do not open power supplies.
Use compressed air carefully. And if you’re blowing out dust, hold the fans still so they’re not free-spinning like a little turbine. And yeah, don’t just start poking around random spots on the motherboard with a multimeter unless you actually know what you’re checking. That’s how people make a simple problem a lot messier. If you catch a burning smell, spot any liquid damage, or see cracked traces on the board, stop right there. Don’t keep forcing it. Don’t fire it back up until you’ve given it a proper once-over. That part’s really important.
CompTIA’s six-step process still works really well here: identify the problem, come up with a likely cause, test that theory, make the fix, confirm everything’s working, and document what you found. In the real world, that usually means starting with the obvious outside checks first, then trimming the system down to a minimal known-good setup so you can isolate the issue. That’s usually the cleanest way to get real evidence instead of just taking a guess.
So what kind of failure are you actually dealing with here? That’s the first thing I’d ask at the bench.
No power: no fans, no lights, no standby indication, no response to the power button. I always start with the easy external stuff first: the outlet, the power strip, the UPS if there is one, the power cable, and the switch on the back of the PSU. It sounds basic, but honestly, a lot of these cases get solved right there. If all of that looks good, I move inside and make sure the motherboard power connectors are actually seated properly. Reseat before replace, every time.
No POST: system powers on, but hardware initialization fails. You may see debug LEDs, hear beep codes, or get fan spin with no successful startup. Think RAM, CPU power, CPU support, motherboard, or PSU stability.
No display: system may have power, but nothing appears on the monitor. This can still be a POST failure. And don’t skip the display path, either. Check the monitor input first, then the cable, and then make sure the GPU’s fully seated and actually getting power. And don’t forget to confirm whether the CPU even supports integrated graphics in the first place. That one gets people all the time.
No boot: POST completed and you can reach BIOS or UEFI, but the operating system does not load. When that happens, I’m usually looking at boot order, a missing bootloader, a failed drive, a storage device the system isn’t detecting, or a recovery prompt like BitLocker. In other words, the hardware may be fine—the startup path just isn’t.
Intermittent shutdowns or reboots: usually heat, unstable power, memory instability, or less commonly motherboard VRM trouble. If it only happens under load, power and cooling move right to the top of the list. That’s where I’d look first. That’s where I’d focus first.
Best next step logic: no power after moving a PC means check external power first. DRAM LED lit means reseat and isolate memory before replacing anything. If the system shuts off after a few minutes, I’d check cooling and CPU power long before I’d start blaming Windows.
Troubleshooting the Motherboard
Motherboard failure is real, absolutely, but I’ve seen people blame the board way too early. Before you condemn the board, verify the basics: the 24-pin ATX connector, the 4-pin or 8-pin EPS12V CPU power connector, front-panel wiring, RAM seating, CPU support, and any possible short to the case. A misplaced standoff can short the board and create a “dead system” that looks far worse than it is.
UEFI or BIOS firmware initializes hardware and begins startup. Settings are often casually called “CMOS settings,” but on modern systems they are typically stored in nonvolatile firmware storage; the RTC or CMOS battery mainly preserves time and certain settings when system power is removed. A weak battery usually shows up as time-and-date resets or settings getting lost, not a completely dead system.
Give the board a careful visual once-over for burn marks, corrosion, swollen capacitors, bent headers, damaged USB headers, and cracked traces. A lot of newer boards use LED diagnostics instead of beep codes, so don’t rely on the old-school speaker approach alone. Common labels are CPU, DRAM, VGA, and BOOT. If DRAM stays lit, test memory first. If CPU stays lit, verify CPU power, compatibility, socket condition, and cooler installation. No beep does not rule out a POST failure because many boards need a speaker attached to produce beep codes.
Front-panel header mistakes matter. A miswired or failed case power switch can prevent startup. Check the PWR_SW lead against the motherboard manual so you know it’s on the correct pins. It sounds basic, but honestly, it saves a lot of grief. If you need to, you can briefly short the correct power-switch header pins with a screwdriver just to see whether the board powers up. That’s a solid way to separate a bad case power switch from a real motherboard issue. The PWR LED and HDD LED leads are polarity-sensitive, but the power-switch lead isn’t.
Clearing CMOS can fix bad firmware settings after a failed update or some unstable tweaking. Use the board’s clear-CMOS jumper, rear button, or battery-removal method exactly the way the manual says to. And don’t forget the side effects. Boot order, date and time, fan curves, XMP or EXPO, Secure Boot, and SATA mode can all get reset. That matters when verifying the repair.
Firmware compatibility can also look like dead hardware. A newer CPU on an older motherboard may need a specific BIOS version before the system will even start. That’s one of those compatibility gotchas that can make a perfectly healthy build look dead. Before you assume the hardware’s bad, check the vendor’s CPU support list, the board revision, and the current BIOS version. That’s usually the best next step. Some boards have USB-based firmware update features that let you update the BIOS without a supported CPU installed, but plenty of boards don’t, so don’t assume that trick’s available.
RAM Troubleshooting and Memory Compatibility
RAM problems are one of the most common reasons you’ll see no POST, DRAM LEDs, memory beep codes, blue screens, or intermittent instability. Start with seating and isolation. Test one module at a time in the board’s recommended primary slot—often A2 on a four-slot board—but always confirm that in the manual.
DDR4 and DDR5 aren’t interchangeable, but generation mismatch isn’t the only compatibility issue you’ve got to watch for. Capacity per slot, rank density, ECC versus non-ECC support, the motherboard’s compatibility guidance, and XMP or EXPO profiles can all affect startup and stability. Mixed kits may boot only at fallback JEDEC speeds, or they may train poorly and become unstable.
That training point matters, especially with DDR5. First boot after a memory change can take longer than students expect. A board may cycle power or sit on a DRAM light while training memory. That isn’t the same as a permanent failure, so give it a fair amount of time before you decide the board is dead.
If a system starts acting unstable after a RAM upgrade, turn off XMP or EXPO and test it at JEDEC defaults first. If it then stabilizes, the issue may be memory overclock profile compatibility rather than a failed DIMM. After the system can boot reliably, use built-in memory diagnostics, dedicated memory testing utilities, or vendor diagnostic tools as follow-up methods. Software tests can help, sure, but they don’t replace physically isolating the hardware.
To tell a bad DIMM from a bad slot, use a simple pass-or-fail approach: test each known-good stick in the same slot, then try the suspect stick in a slot you already know works. Honestly, I’d take evidence over guesswork every single time.
Troubleshooting the CPU and Cooling
A truly failed CPU is a lot less common than a CPU installation, compatibility, power, or cooling problem. Verify the socket and BIOS support first. Then check the EPS12V CPU power connector near the socket; forgetting that connector is one of the classic A+ mistakes.
Inspect carefully based on platform type. On AMD AM4, you’re dealing with PGA, so the pins are on the CPU itself, which means bent-pin damage shows up there. Intel LGA and AMD AM5 use socket pins on the motherboard, so in those cases the socket is the delicate part. Don’t drag the CPU across the socket or force the retention hardware.
Cooling diagnosis needs more than “is the fan spinning?” For air coolers, confirm mounting pressure, correct orientation, protective film removal, and CPU_FAN header connection. For all-in-one liquid coolers, make sure the pump has power, it’s connected to the right header if the board expects one, and the firmware is actually seeing pump RPM if it monitors that. If the pump isn’t running, the system usually won’t stay up very long. If temperatures climb quickly in BIOS or UEFI, the fan reads zero RPM, or the system shuts down after just a few minutes, that points pretty strongly to a cooling problem. That’s not the kind of symptom you want to brush off.
Thermal paste matters, but mounting quality usually matters more than the exact amount of paste. Too little paste can create poor contact; too much is often just messy unless it is conductive or prevents proper mounting pressure. If you remove the cooler, clean old paste and reapply fresh paste correctly before remounting.
Use BIOS or UEFI hardware monitor screens when available. If idle temperature in firmware rises unusually fast, the cooler is not doing its job. In the operating system, thermal throttling, sudden frequency drops, and shutdowns under load reinforce the same conclusion.
Power Troubleshooting and Connector Identification
For no-power complaints, separate external power from internal power. Start by checking the outlet, power strip, UPS, power cable, and the PSU rear switch. That’s the fastest, least invasive place to start. If the PSU has a voltage selector, double-check that it’s set correctly before you do anything else. It’s a small detail, but it matters. Then check the internal power connections: the 24-pin ATX to the motherboard, the EPS12V CPU power near the socket, SATA power for drives, and PCIe power for a discrete GPU. If one of those is loose, the whole system can act dead or unstable.
Don’t mix up EPS12V CPU power and PCIe 8-pin GPU power. They can look almost the same, but they’re not interchangeable. And don’t swap modular PSU cables between different brands—or even different models—unless the vendor specifically says they’re compatible. Wrong modular cables can damage hardware.
A PSU provides standby power even when the system is “off.” That 5VSB rail can power standby LEDs or support soft power-on behavior, but not every board even has a visible standby light. A standby light doesn’t prove the PSU is healthy, and not having one doesn’t automatically mean the motherboard is dead. You still have to look at the whole picture.
A PSU tester can tell you whether the basic rails are present, but it can’t prove stability under load, ripple quality, or how the unit reacts to sudden changes. So it’s useful, just not the whole story. A paperclip jump-start test is even more limited, so definitely don’t treat it like a full diagnosis. It only tells you a little beyond whether the unit will start. For intermittent reboots or shutdowns under load, swapping in a known-good PSU is usually more useful than relying on a basic tester. That’s the cleanest way to separate a weak PSU from everything else.
If you’re using a multimeter, stick to safe low-voltage checks and follow the documentation carefully. Don’t wing it. Typical ATX rails are +3.3V, +5V, and +12V, and the usual rule of thumb is about plus or minus 5 percent tolerance. But even correct idle voltage doesn’t guarantee the PSU will stay stable under load. That is why known-good swaps often beat instruments in entry-level troubleshooting.
No Display Versus No POST Versus No Boot
This is a major exam trap. If the monitor is blank, do not assume the system finished POST. Check for debug LEDs, keyboard response, speaker output, and whether you can enter firmware. A no-display complaint may actually be a memory or CPU startup failure.
Check the display path first. Make sure the monitor’s on, the correct input is selected, the cable is seated, and it’s plugged into the right port. You’d be surprised how often the PC’s fine and the real problem is somewhere in the display path. If there’s a discrete GPU installed, the monitor usually needs to be plugged into the GPU, not the motherboard video port. That’s an easy miss, especially on a fresh build. Motherboard video outputs only work if the CPU has integrated graphics and the platform supports using it. No iGPU support means no picture from the board’s video ports, period. If the CPU lacks an integrated GPU, those ports do nothing.
Also verify discrete GPU auxiliary power. A card that is unseated or missing PCIe power can produce a black screen while the rest of the system appears alive.
If you can reach BIOS or UEFI, POST succeeded. Now shift to boot troubleshooting: confirm the storage device is detected, verify boot order, check UEFI versus legacy or CSM settings if relevant, and consider missing bootloader or recovery prompts. NVMe and SATA drives can both fail detection or boot configuration, but that is a different problem category than no POST.
Minimal Boot and Breadboarding Procedure
When you’re not sure, simplify the setup and reduce the variables. That’s how you get from theory to evidence. Build a minimal setup with just the motherboard, CPU and cooler, one known-good stick of RAM, the PSU, and graphics only if you actually need it. Unplug the drives, front USB, extra cards, and anything else that doesn’t need to be connected yet. The goal is to keep only the essentials in play.
If you suspect a short, breadboard the system outside the case on the motherboard box or another ESD-safe work surface. Do not use carpet, metal, or the exterior of an antistatic bag, which can be conductive. Connect CPU power, 24-pin ATX, cooler, and one memory module. Attach a speaker if available or watch onboard debug LEDs. If there’s no case switch attached, start the board by briefly shorting the power-switch header pins.
If the board POSTs outside the case but not inside, I’d start looking at standoffs, front-panel wiring, a shorted front USB header, or some other case-related mechanical issue. Add parts back one at a time—the second RAM module, the boot drive, the GPU if needed, and then everything else. When the failure returns, you have likely identified the trigger.
OEM and Firmware Caveats
Prebuilt systems from major OEMs may use proprietary front-panel pinouts, proprietary power connectors, compact board layouts, or laptop-style integrated designs in small form factor desktops. Do not assume standard ATX behavior. Service manuals matter.
Also protect customer configuration. Clearing CMOS or replacing a board can affect BIOS passwords, TPM state, Secure Boot, BitLocker recovery prompts, boot order, and the date and time. Make sure you document the serial numbers, firmware settings, and anything else you change. If the machine belongs to a user, preserve data and configuration whenever possible before making disruptive changes.
Quick Symptom Reference
No lights, no fans: check outlet, strip, cable, PSU switch, 24-pin, EPS12V, and shorts.
Fans spin, DRAM LED lit: reseat RAM, test one stick in the recommended slot, disable XMP or EXPO if needed.
Powers on then shuts off: check CPU power, cooler mounting, fan or pump operation, and thermal readings.
Black screen after GPU install: verify monitor input, connect display to the GPU, and confirm PCIe power to the card.
Can enter BIOS but Windows will not load: POST succeeded; check boot order, drive detection, bootloader, and recovery prompts.
Random reboot under load: think PSU or cooling first, then memory stability, then less-common board issues.
Exam Traps, Best Next Step Logic, and Practice Questions
Common traps include replacing the motherboard too early, jumping to a BIOS update before confirming power, assuming a black screen automatically means GPU failure, forgetting CPU power, and treating beep codes like they’re universal across vendors.
Most likely cause vs best next step: the most likely cause may be unseated RAM, but the best next step is to reseat and test one module at a time. The likely cause might be an unsupported CPU, but the best next step is to verify the CPU support list and BIOS version before you replace any hardware.
Practice 1: A desktop was moved and now shows no lights or fans. Best next step? Check outlet, strip, cable, and PSU switch before opening the case.
Practice 2: Fans spin, monitor is blank, DRAM LED is lit. Best next step? Reseat RAM and test one stick in the recommended slot.
Practice 3: New CPU installed, fans spin, CPU LED stays on. Best next step? Verify CPU support and required BIOS version, then CPU power and socket condition.
Practice 4: System boots to BIOS but not Windows after a CMOS reset. Best next step? Check boot order, storage detection, and firmware settings changed by the reset.
Practice 5: Gaming PC reboots only under load. Best next step? Test temperatures and swap in a known-good PSU before blaming the motherboard.
Practice 6: Monitor connected to motherboard HDMI, but the installed CPU lacks integrated graphics. Likely result? No display even if the system otherwise POSTs.
Final Review
Memorize these truths: no power is not no POST, no display is not no boot, fans spinning do not prove motherboard health, DDR generation must match, CPU power is easy to forget, motherboard video ports require integrated graphics support, PSU testers are limited, and clearing CMOS can reset important firmware settings.
If you keep a symptom-first approach, use minimal hardware, verify power and seating before replacing parts, and rely on known-good swaps when the evidence is unclear, you will answer A+ scenario questions more accurately and troubleshoot real systems faster. That is the goal: classify, test, isolate, verify, document.